- Geschrieben am
- 6 Min. Lesezeit

Growing your first flush from a mushroom growkit can feel nerve-wracking, especially when you’re not sure what ’normal‘ looks like. This week-by-week diary follows a complete beginner’s journey with a Golden Teacher growkit, from first spray to harvest, with photos and real-time troubleshooting. If you’ve bought a kit but haven’t started yet, this guide will walk you through what to expect and when to stop worrying.
What you need before you start
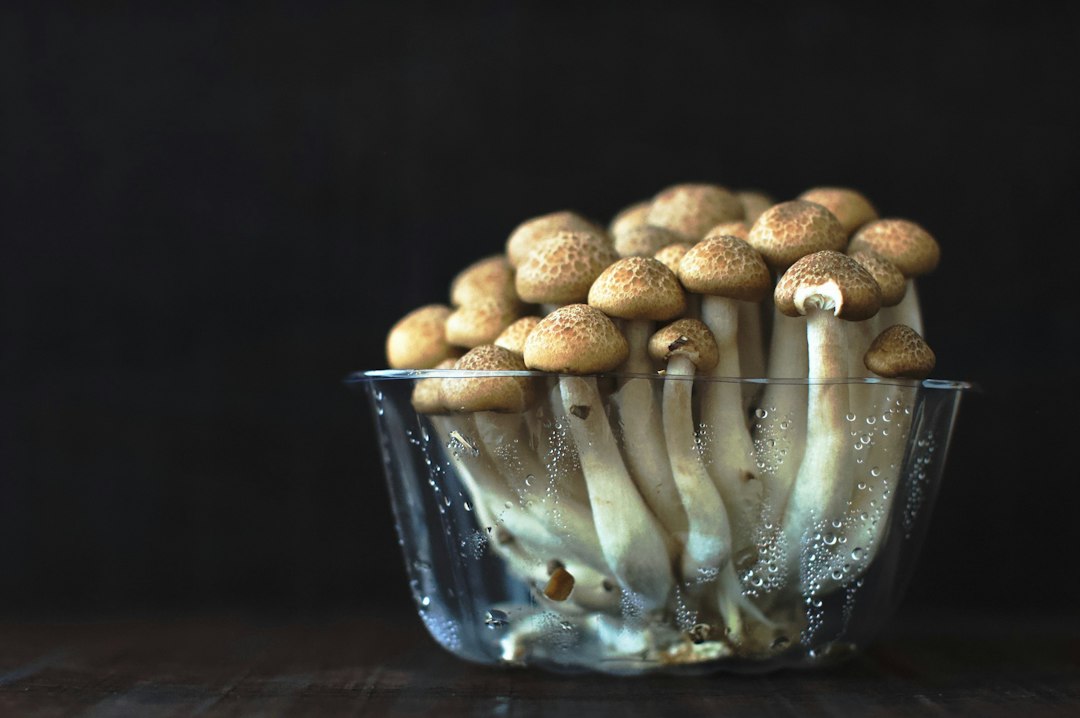
Before opening your kit, gather a few essentials. You’ll need a clean spray bottle filled with tap water, a warm spot away from direct sunlight (ideally 21-24°C), and patience. Our growkit essentials bundle includes everything, but a basic setup works just fine.
Wash your hands thoroughly before handling the kit. Contamination is the biggest risk for beginners, but it’s less common than you think if you follow basic hygiene. Don’t obsess, just be clean and consistent.
Week 1: Setting up and the first signs of life
Day 1: Removed the kit from the box, soaked the substrate in cold water for 12 hours as instructed, then drained it completely. Placed it in the grow bag with the top folded loosely, misted the inside of the bag (not directly on the cake), and put it on a shelf in the kitchen. Temperature around 22°C. No visible change yet.
Day 3: Still nothing visible. This is where most beginners panic. Totally normal. The mycelium is working beneath the surface. Misted twice daily, kept the bag slightly open for air exchange.
Day 5: Tiny white dots appeared on the surface. Pinning has started. This is the moment you realise it’s actually working. Pins look like miniature mushroom heads, clustered in patches. Kept misting gently around them, never directly on the pins.
Day 7: Pins have grown noticeably, now about 5mm tall with visible caps forming. Growth accelerates from here.
Week 2: Rapid growth and common worries
Day 10: Mushrooms are now 2-3cm tall. Caps are still rounded and closed. Some grew faster than others, which is completely normal. One cluster on the left side looked slightly yellowish at the base. Checked our contamination guide and confirmed it was just metabolites (mycelium ’sweat‘), not mould. Crisis averted.
Day 12: Growth is now visible hour by hour. Mushrooms doubled in size overnight. Stems thickening, caps still domed. Increased misting to three times daily as the substrate was drying faster. The bag had condensation inside, which is a good sign of healthy humidity.
Day 14: Some caps are 4-5cm across. A few started to flatten slightly at the edges. This is the signal that harvest is approaching. The veil (thin membrane under the cap) is still intact on most, but thinning.
Week 3: Harvest time and the key decision
Day 16: The veils on the largest mushrooms started tearing. This is the optimal harvest window for maximum potency. Once the veil breaks and the cap opens fully, spores drop and potency begins to decline slightly. Our guide on when to pick mushrooms for best potency helped clarify the timing.
Day 17: Harvested the first flush. Twisted each mushroom gently at the base and pulled. Don’t cut them; twisting prevents rot. Total yield: about 180 grams fresh. Some smaller mushrooms were left to mature for another day. Caps were beautiful, golden-brown, and the stems were firm.
Day 18: Picked the remaining smaller mushrooms. Cleaned the substrate surface gently with damp hands to remove leftover stem bases. Prepared the kit for a second flush by soaking it again for 12 hours.
What slowed me down and how I fixed it
Three mistakes nearly derailed growing your first flush, and they’re worth mentioning:
- Misting directly on pins: On day 6, I sprayed water straight onto the tiny mushrooms. They bruised blue (a harmless reaction but visually alarming). After that, I misted only the bag’s interior walls.
- Temperature drop: Around day 9, the room got cold overnight (18°C). Growth stalled for a day. Moved the kit to a warmer spot and growth resumed. Stable warmth matters more than peak temperature.
- Overthinking contamination: Every discolouration felt like contamination. In reality, the kit stayed clean the entire time. Trust the process unless you see fuzzy green or black mould with a clear spreading pattern.
How to use your harvest
Fresh mushrooms can be consumed immediately or dried for long-term storage. To dry them, slice thinly and use a dehydrator or fan at low heat (never above 40°C to preserve potency). Once cracker-dry, store in an airtight container with silica gel.
For microdosing, grind dried mushrooms into powder and measure 0.1 to 0.3 grams per dose. If you prefer ready-made microdosing with fresh psilocybin truffles, our starter pack includes pre-measured strips and guidance. Truffles and mushrooms contain the same active compounds but differ in form and dosing.
Preparing for the second and third flush
After harvesting, soak the kit again in cold water for 12 hours, drain thoroughly, and return it to the grow bag. The second flush usually appears within 7-10 days and is often smaller but still worthwhile. Some kits produce three or even four flushes, though yields decrease each time.
Between flushes, keep the substrate moist but not soaking. If you see green or black mould appear, discard the kit immediately. It’s rare with proper care, but once contamination takes hold, it spreads fast.
Frequently asked questions
How long does growing your first flush take from start to harvest?
Most growkits produce the first flush within 2 to 3 weeks. Timing depends on temperature, humidity, and the specific strain. Golden Teacher and B+ tend to fruit quickly, while McKennaii can take a few extra days.
What if no pins appear after 10 days?
Double-check temperature (should be 21-24°C) and humidity (bag interior should have visible condensation). If the substrate looks dry, mist more frequently. If it’s too wet or smells sour, contamination may have occurred. Patience is key; some kits take up to two weeks to pin.
Can I eat fresh mushrooms from a growkit or do I need to dry them?
You can eat them fresh. Fresh mushrooms are about 90% water, so doses are roughly 10 times higher by weight than dried. A typical recreational dose of 3 grams dried equals around 30 grams fresh. Drying makes storage and dosing easier.
How many flushes can I expect from one growkit?
Most kits produce 2 to 4 flushes. The first is usually the largest. Each subsequent flush yields less, but total output across all flushes can be substantial. After the third or fourth, the substrate is exhausted.
What’s the difference between growing mushrooms and using fresh truffles?
Growkits produce psilocybin mushrooms; truffles are sclerotia, a different fungal structure that forms underground. Truffles are sold fresh and ready to use, while mushrooms require cultivation and typically drying. Both contain psilocybin, but truffles have a longer shelf life when fresh and are legal in the Netherlands.
Do I need special equipment to grow my first flush successfully?
No. A basic growkit, spray bottle, and warm room are enough. Optional extras like a heat mat or hygrometer can help optimise conditions, but they’re not essential for a successful first grow.
Final thoughts
Growing your first flush is simpler than it looks once you start. The hardest part is trusting the process during the quiet early days. If you’re ready to try, browse our full range of growkits and pick a strain that suits your experience level. Keep it clean, keep it warm, and you’ll have fresh mushrooms in a few short weeks.