- Written on
- 7 min. reading time

Most growkit flushes produce between three and five harvests, though the first two typically account for 60-80% of your total yield. Each flush gets progressively smaller and slower, with diminishing returns after the third round. With proper care and technique, you can maximize both the number of flushes and the overall weight you harvest from your kit.
What are growkit flushes?
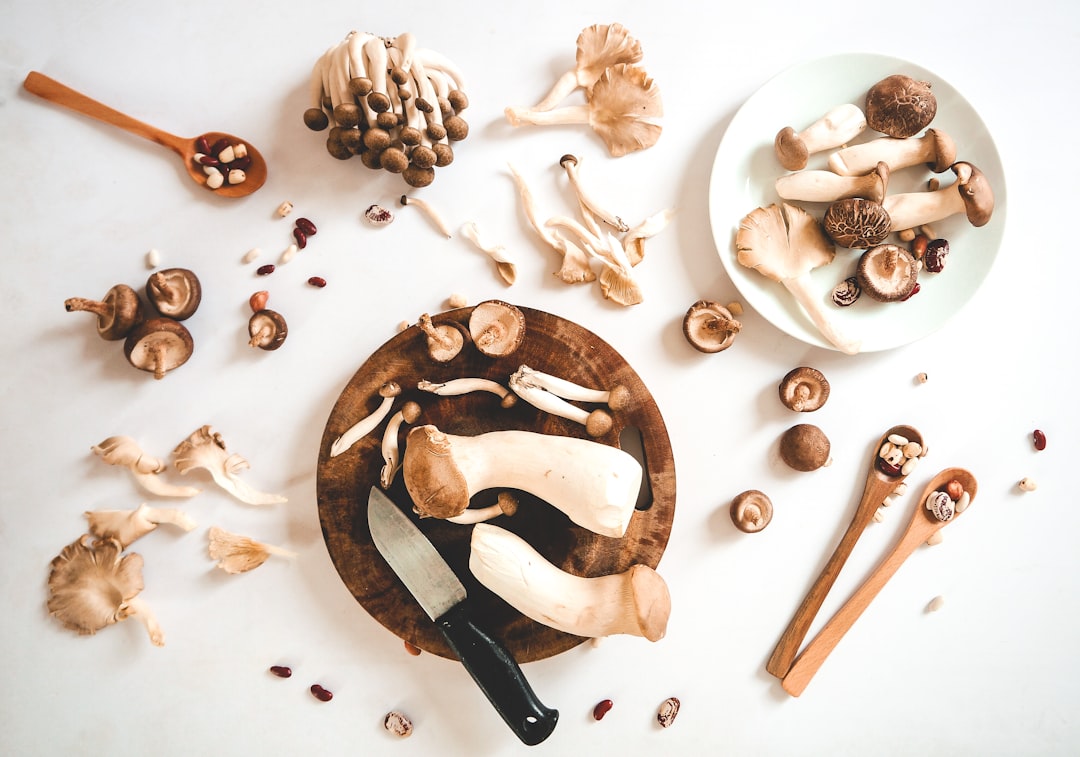
A flush is a single harvest cycle from your mushroom growkit. After you pick the first batch of mature mushrooms, the mycelium rests, then produces another round of fruiting bodies. This process repeats until the substrate runs out of nutrients or becomes contaminated.
Each flush follows a predictable pattern: pins appear, mushrooms grow rapidly over 5-7 days, you harvest, then the kit needs rehydration before the next cycle begins. The time between growkit flushes typically extends from about 7-10 days early on to 14-21 days for later rounds.
How many flushes can you realistically expect?
Most growers achieve three to four solid flushes before yields drop below worthwhile levels. Some kits produce five or even six, but these later harvests are often sparse and take weeks to materialize.
Here’s what typical growkit flushes look like in practice:
- First flush: Largest and most vigorous, often 40-50% of total yield, 150-400 grams fresh depending on kit size
- Second flush: Still strong, 25-35% of total yield, mushrooms may be slightly larger
- Third flush: Noticeably smaller, 15-20% of yield, pins may be uneven
- Fourth and beyond: Diminishing returns, often just a handful of mushrooms, longer wait times
Your actual results depend on strain, kit quality, temperature, humidity, and how well you rehydrate between rounds. Golden Teacher and B+ growkits tend to be reliable producers across multiple flushes, while more exotic strains can be less predictable.
Why does each flush get smaller?
The substrate inside your kit contains a finite amount of nutrients. With each flush, the mycelium depletes more of its stored energy reserves to produce fruiting bodies. By the third or fourth round, resources become scarce and the network weakens.
Contamination risk also increases over time. Each time you open the kit, handle it, or rehydrate, you introduce potential contaminants. The mycelium’s immune response weakens as nutrients decline, making it more vulnerable to mold and bacteria. This is why proper sterile technique matters more as your kit ages.
Temperature fluctuations and inconsistent humidity take a cumulative toll as well. A kit that might tolerate imperfect conditions for the first two flushes often shows stress symptoms by round three or four.
How to maximize your growkit flushes
The single most important factor is proper rehydration between flushes. After harvesting, your substrate is dehydrated and needs moisture to trigger the next pinning cycle. The standard cold-water soak method works well: submerge the entire cake in clean, cold water for 12-24 hours, then drain thoroughly.
Some growers swear by the ‘dunk and roll’ technique for later flushes. After soaking, roll the cake in a thin layer of vermiculite to help retain surface moisture. This can extend productive life by one or two additional rounds.
Harvest timing matters more than many realize. Pick mushrooms just as the veil breaks, before spores drop. Late harvests stress the mycelium and reduce subsequent flush vigor. Our guide on when to pick mushrooms covers the ideal harvest window in detail.
Remove all mushroom material after each harvest, including tiny aborts and stem stumps. These become contamination vectors if left to rot on the surface. Use clean hands or sterilized tweezers for removal.
When to call it done
You’ll know your kit is finished when pins take longer than three weeks to appear, when green or black mold becomes visible, or when the substrate shrinks significantly and pulls away from the container walls. A sour or ammonia smell indicates bacterial contamination and means it’s time to compost the kit.
Some growers try to push for one more flush even when yields drop to just a few mushrooms. This is rarely worth the wait unless you simply enjoy the cultivation process. Your time and shelf space are better invested in a fresh kit.
If you notice signs of contamination early, isolate the kit immediately to prevent spores spreading to other growing projects. Check our growkit contamination guide to identify common issues and when salvage is possible versus when to discard.
Total yield expectations
A 1200ml growkit typically produces 300-600 grams fresh total across all flushes under good conditions. This converts to roughly 30-60 grams dried, since fresh mushrooms are about 90% water. Larger 2100ml kits can yield 500-900 grams fresh.
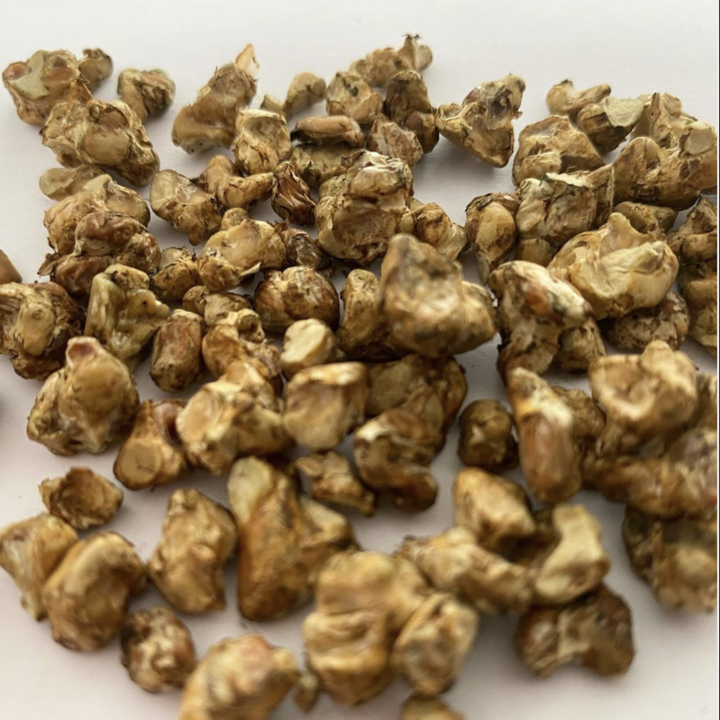
For context, a microdose of fresh psilocybin truffles averages 0.5 grams, but mushrooms are typically dried for microdosing. A standard dried mushroom microdose is 0.1-0.3 grams, meaning a successful growkit provides material for 100-600 microdoses depending on your personal dosing protocol.
For those interested in ready-to-use microdosing options, our starters deal includes pre-portioned strips and everything needed to begin a structured protocol without cultivation.
Strain differences in flush performance
Not all strains behave identically across multiple flushes. Golden Teacher and B+ are known for consistent production through four or five rounds with gradual decline. McKennaii often delivers a spectacular first flush but drops off more sharply afterward.
Mexican and Colombian strains tend toward reliability over flash, producing moderate but steady yields across three to four flushes. If you’re new to cultivation and want predictable multi-flush performance, start with one of these workhorses.
Environmental factors that matter
Temperature stability influences flush frequency and size more than most growers realize. The ideal range is 21-24°C during colonization and fruiting. Temperatures above 26°C stress the mycelium and invite contamination, while anything below 18°C significantly slows growth and can stall pinning entirely.
For colder environments, a mushroom heat mat maintains consistent warmth without overheating. This simple addition often means the difference between three weak flushes and five productive ones.
Humidity needs to stay between 80-95% during fruiting. Mist the inside of the grow bag several times daily if needed, but never spray water directly onto the mushrooms or substrate surface. Poor humidity is the most common reason for aborted pins and stunted second flushes.
Frequently asked questions
How long does each growkit flush take?
The first flush typically takes 7-14 days from setup to harvest. Subsequent flushes take 10-21 days depending on strain, conditions, and how depleted the substrate has become. Later rounds almost always take longer as the mycelium slows down.
Can I skip a flush to let the kit rest?
No, this doesn’t help. Once pins begin forming, the flush will complete whether you harvest or not. Letting mushrooms over-mature and drop spores actually harms future flush potential by stressing the mycelium and creating contamination risk.
Should I add nutrients between flushes?
Most pre-sterilized kits are not designed for nutrient supplementation, and attempting it often introduces contamination. The cold-water soak provides adequate rehydration. If you want to experiment with additives, research sterile technique thoroughly first or accept that you may lose the kit.
Why did my second flush produce bigger mushrooms than the first?
This is common and normal. The first flush often produces many small-to-medium mushrooms as the mycelium distributes energy broadly. By the second flush, fewer pins form, so each receives more resources and grows larger. Total weight still typically declines, but individual mushroom size may increase.
How do I know if contamination will ruin future flushes?
Small patches of green or white mold on the surface can sometimes be isolated by cutting away the affected section with a sterilized blade. If contamination covers more than 20% of the surface, spreads rapidly, or smells foul, the kit is finished. Black or pink discoloration almost always means it’s time to discard.
Can I combine harvests from different flushes for drying?
Yes, absolutely. Dry all your mushrooms together using a food dehydrator at 40°C maximum or air-dry with a fan. Once cracker-dry, store them together in an airtight container with silica gel. Potency variation between flushes from the same kit is minimal.
Making the most of your kit
Understanding growkit flushes helps you set realistic expectations and avoid disappointment when later harvests decline. Focus your energy on optimizing the first two or three rounds rather than chasing diminishing returns from a spent kit. Proper rehydration, sterile handling, and stable conditions will consistently deliver better results than any tricks or shortcuts. For those wanting a complete cultivation setup, our growkit essentials bundle includes scales, storage, and tools to support you through multiple flush cycles.